
Simple Steps to Get Smooth, Long-Lasting Results on Indoor Wood Surfaces
If you want a clean, smooth finish on your trim, doors, or cabinets, you need to follow a clear order. A step by step guide to indoor wood painting starts with prep work, moves through careful priming and painting, and ends with proper drying time. Skipping steps often leads to peeling, streaks, or uneven color. Done right, your indoor wood can look fresh and last for years.
What You Need Before Starting
Before you begin any wood painting project, gather your tools and set up your space. Good prep makes the job faster and less stressful.
- Drop cloths or plastic sheets
- Painter’s tape
- Screwdriver for removing hardware
- Sandpaper in medium and fine grit
- Tack cloth or damp rag
- Wood filler for holes or cracks
- Primer made for wood
- Interior paint
- Quality brushes or small rollers
Clear the room as much as possible. Remove pictures and move furniture away from the work area. Take off door handles, hinges, and cabinet knobs. Label hardware so you can put it back easily later.
Step-by-Step Process for Indoor Wood Painting
Following a set order helps you avoid common problems. Here is a simple breakdown of the wood painting process.
- Clean the surface. Wipe down the wood to remove dust, grease, and dirt. Kitchen cabinets often need extra cleaning.
- Repair damage. Fill nail holes and small cracks with wood filler. Let it dry, then sand smooth.
- Sand the surface. Lightly sand all areas to help the primer stick. Even previously painted wood needs a quick scuff.
- Remove dust. Use a tack cloth or damp rag to wipe away sanding residue.
- Apply primer. Use a steady hand and thin coats. Primer blocks stains and helps paint grip the wood.
- Let it dry fully. Check the label for drying times. Do not rush this step.
- Lightly sand again. A quick pass with fine grit sandpaper smooths brush marks.
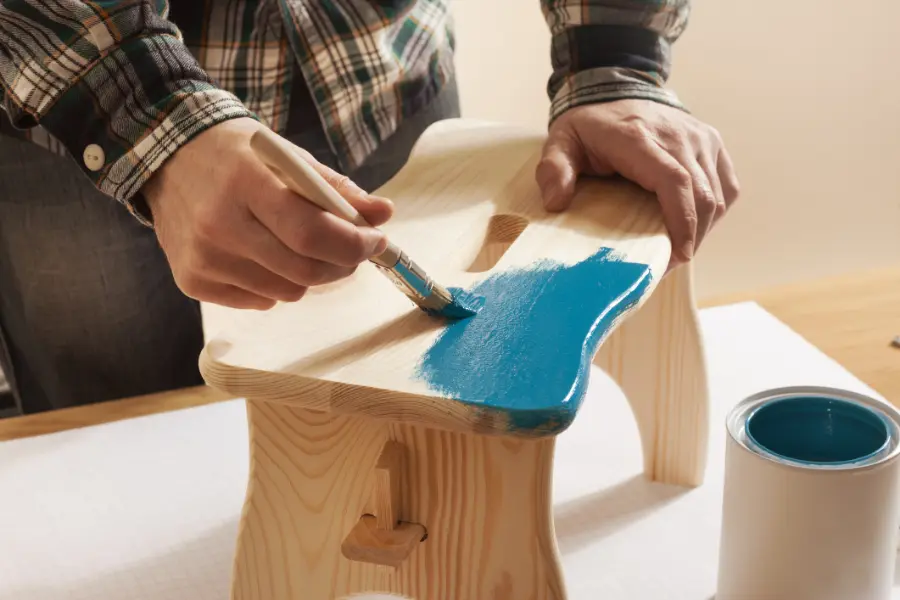
- Apply paint. Use thin, even coats. Two coats are usually better than one thick coat.
- Allow proper curing time. Paint may feel dry in hours but can take days to fully harden.
Work in small sections. Keep a wet edge while painting to reduce lap marks. Good lighting also helps you spot drips before they dry.
Common Mistakes to Avoid
Many indoor wood projects fail because of skipped steps. Here are mistakes that can hurt your results:
- Painting over dust or grease
- Skipping primer on bare wood
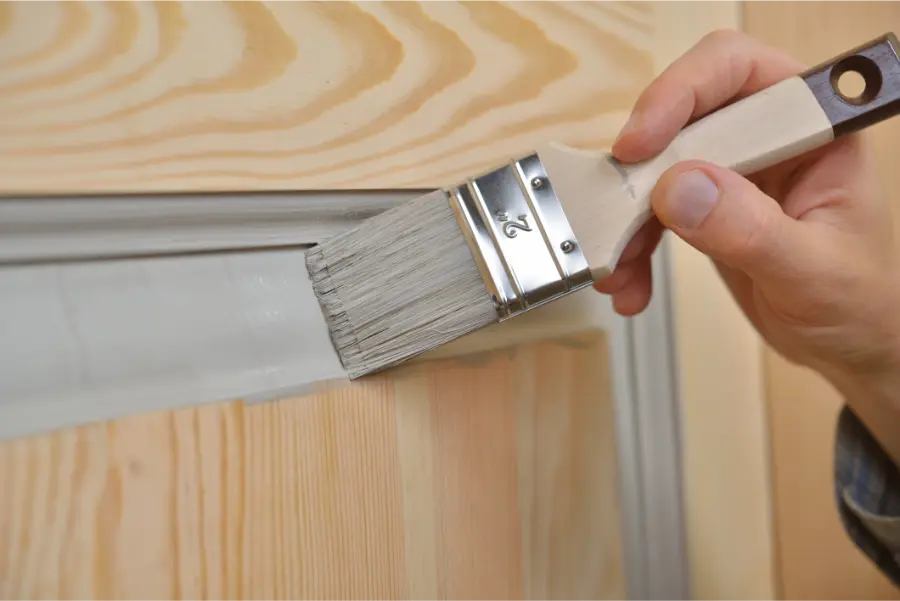
- Using cheap brushes that leave streaks
- Applying thick coats to save time
- Not letting each coat dry fully
Another mistake is ignoring humidity. Even indoors, high moisture in the air can slow drying and affect the finish. Try to paint in mild conditions with steady airflow.
When to Call a Professional
Some wood painting jobs are simple. Others take more skill and tools.
You may want professional help if:
- Cabinets have heavy grease buildup
- Wood has deep scratches or water damage
- You want a factory-smooth finish
- The project covers large areas with tight deadlines
Professionals often use sprayers for cabinets and built-ins. This gives a smooth, even coat that is hard to match with a brush. They also know which primers block stains from knots and old finishes. If your project is part of a larger update, planning the painting stage properly can save time and money.
Final Thoughts and Next Steps
Indoor wood painting is one of the best ways to refresh a home in Santa Monica, CA. At Bibian Painting, we handle projects of all sizes, from single rooms to full interior updates. We focus on careful prep, smooth finishes, and clean work areas. If you would like help with your next project, call (310) 904-6847 and we will be glad to schedule a time that works for you.